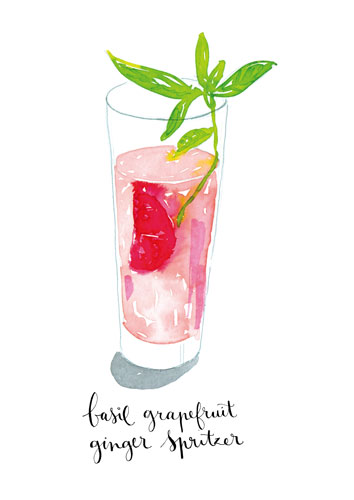
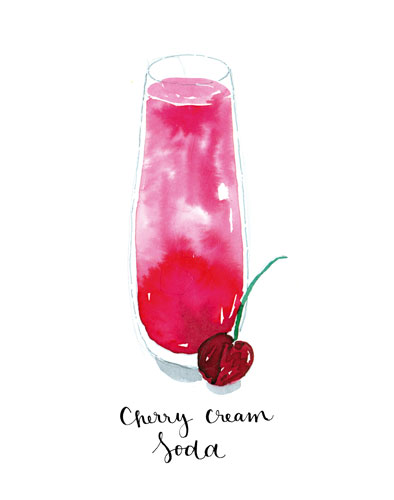
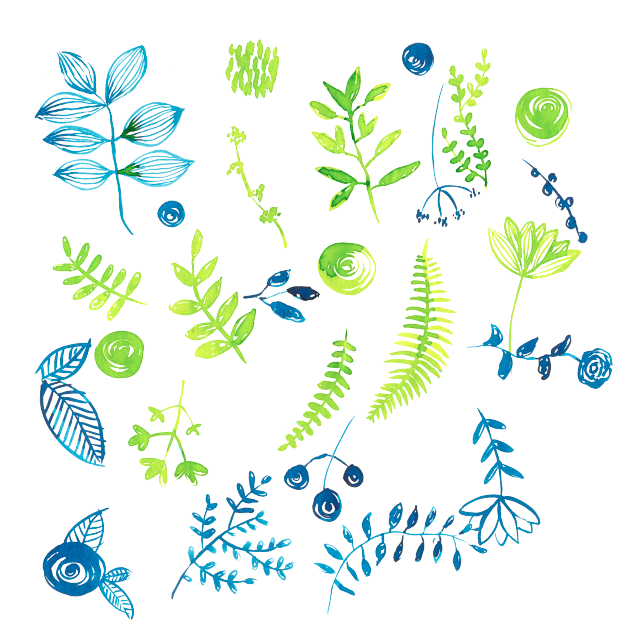
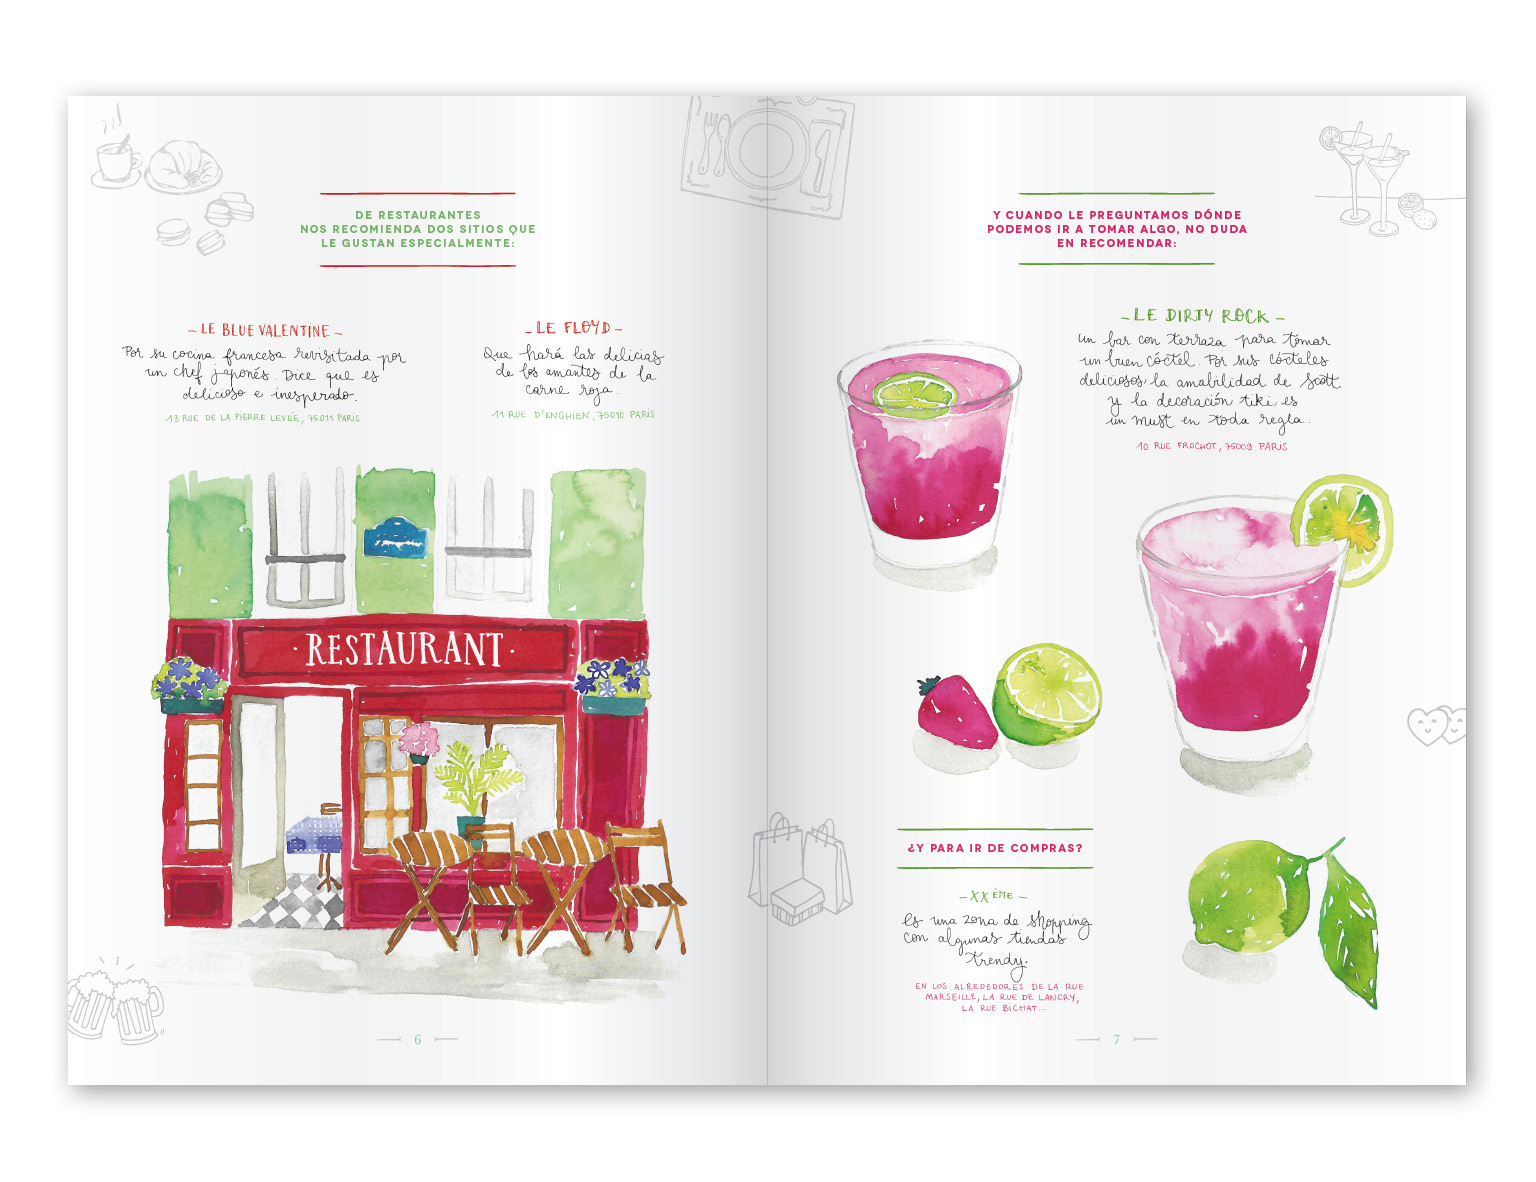
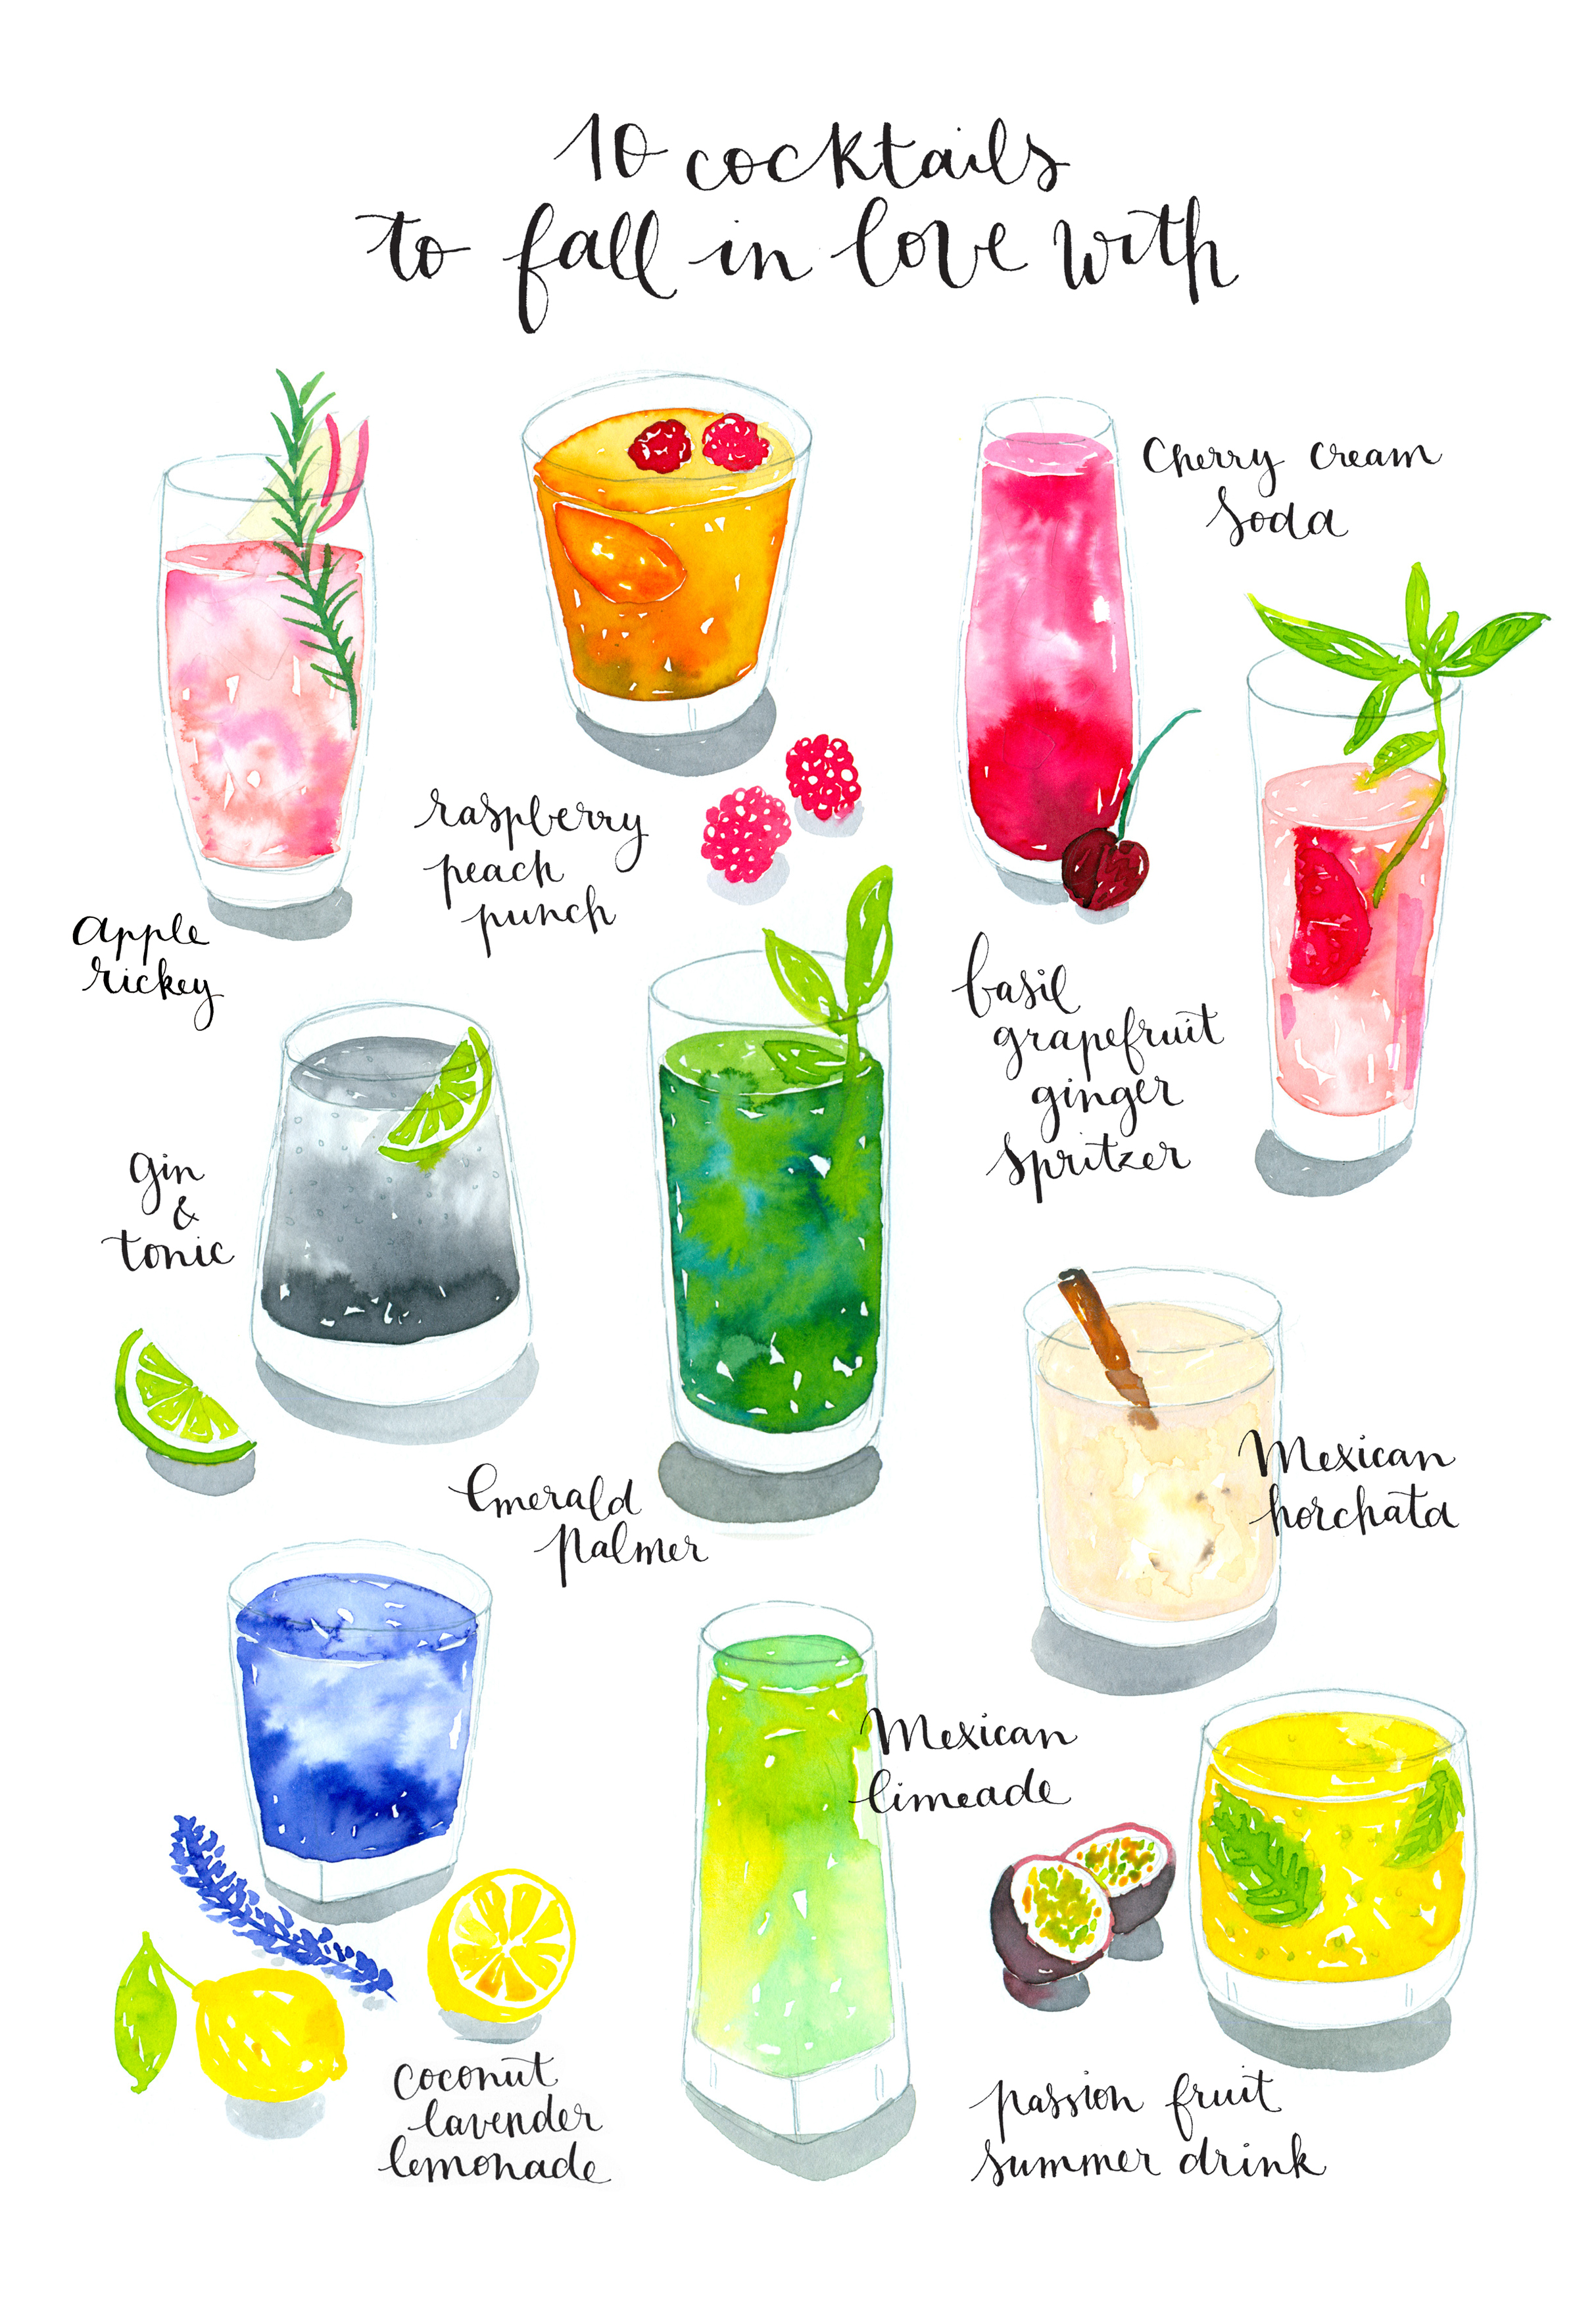
For someone who doesn't drink a lot of alcohol, it might be a bit strange to post an article about cocktails, but I was inspired to paint a few of them because of their amazing colors, and experiment with my watercolors. I let you enjoy this list of 10 cocktails you will fall in love with!
Tutorial #2: How to make a repeat pattern in Photoshop
Hi everyone!
It has been a while I am thinking about showing here the process I take to make a repeat pattern, but today is the day I am finally taking the time to do it. I decided to make a floral-leafy pattern, Below you can find the steps I took to get to this result:
1. Here are the various loose flowers I made with watercolor.
2. Select one by one the drawings you want to keep with the lasso and copy them all into a new document, preferably square (mine is 5000 x 5000px). I made it huge because I always scan my drawings at 600 dpi; I can always make it smaller later.
3. Move the elements around in order to make a composition you are happy with. It doesn't have to fill the square (you will see why in the next step).
4. Group all the loose elements together with CMD + G or CTRL + G.
5. Duplicate the group you just made by dragging and dropping the group onto the new layer icon.
6. Select one of the two groups and press CMD + E or CTRL + E or go to Layer > merge layers and make the other group invisible.
7. Select the active layer and go to Filter > Other > Offset. If your layer size was like mine 5000 x 5000 px, enter 2500 and 2500 as values for horizontal and vertical.
8. You now have a cross in the middle, that you will have to fill with other loose elements to make the pattern seamless. I don't like to fill the square until the edges too much, because the smaller the cross you have to fill later, the more the chances you will have for the 'seam' to show. I hope this makes sense!!
Now, make this layer 30% opacity, and make the other group visible again, so you can differentiate which flowers are on which layer.
9. Now, you can organize the elements as you want to make the pattern harmonious. Watch out now not to put any element out of the square. I like this method, because you can see if you have two of the same elements next to each other.
10. We are almost done. Now, increase the opacity of the merged layer back to 100%.
11. To finish, you can go to Edit > Define pattern. Give it a name and save it.
12. You can now try it in a new document.
13. Create a new layer and fill it in white (Use the paint bucket tool (G) or press Shift + Delete).
14. Double-click on the layer you just created to add a new layer style.
15. Click on the pattern window and you will be able to choose the new pattern you defined. By default, it shows up at 100%, so very big in my case.
16. You can now adjust the scale you want for your surface!
And we are all done! I hope you liked it! If you are doing it another way, or if you know some tips to do it more efficiently, don't hesitate to share it in the comments!
New Work: An illustrated mini-guide of Paris
If I haven't been posting a lot lately, it is because a few weeks ago, I started collaborating with an amazing brand here in Barcelona, full-time. It is a great opportunity to just draw all day long and do what I love! In the last few weeks, I have been working on their online magazine and illustrated a mini-guide of Paris, oui oui! I hope you will like it!
New Work: A small guide to air-purifying houseplants
When I lived in Holland not so long ago, my house was full of plants. I really like having plants around me. Unfortunately at the moment since I moved to Barcelona, I haven't been able to put as many plants as I wish in my house, and that might be why I am drawing so many plants. I hope you will enjoy this small guide to air-puryfing houseplants as much as I enjoyed to illustrate them!
New Work: Handlettering for Self Magazine
A few weeks ago, Self Magazine approached me to make a hand lettering with the words: "You're brilliant, amazing, gorgeous, hilarious,...". I was so thrilled they contacted me so I said YES! This was my first hand lettering paid job, so I was pretty nervous about the result! Here are a few of the proposals I made and the final artwork. In the end, we picked one of the first sketches I made.
And this is the final art:
What do you think? I think I had a preference for number 2 or 3...