Welcome 2015!

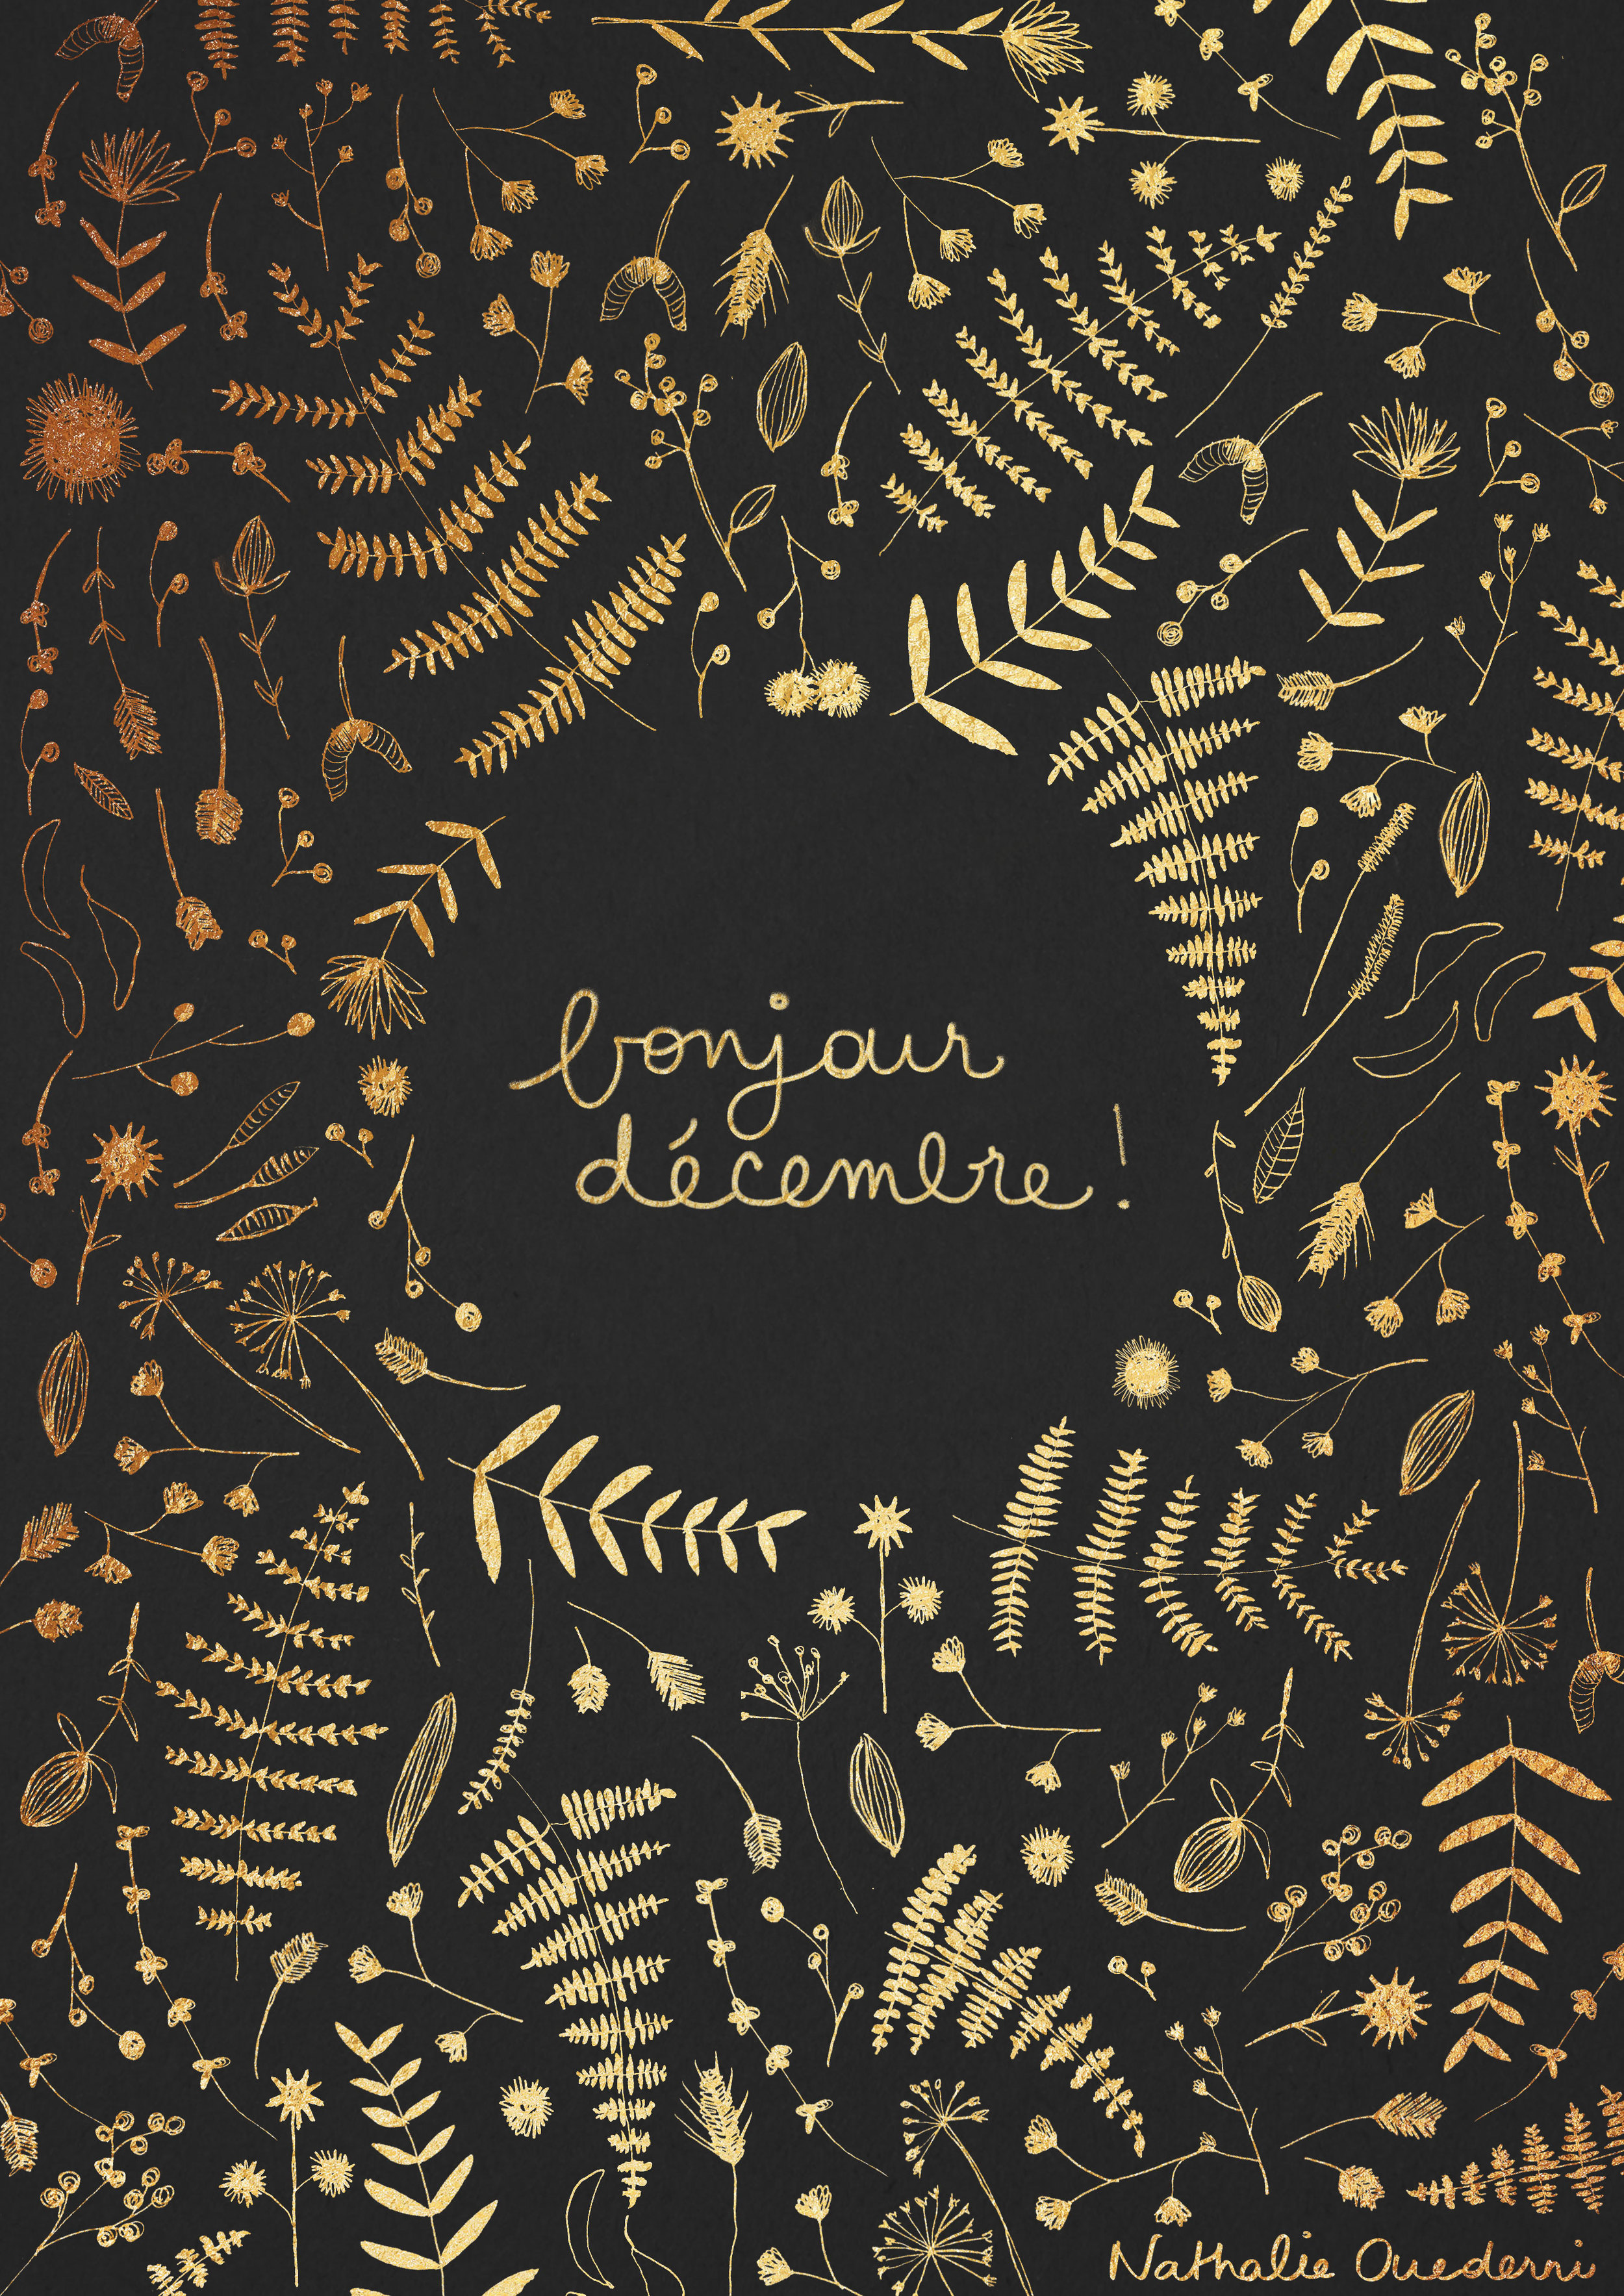
It is this time of the year already!! I wish you all a very happy, healthy year full of laughter and love! For me, 2014 was full of new. A new country, a new place and a a decision to follow my passion of illustration. It was a very good year, and I feel so incredibly lucky for what I have.  I don't really have resolutions for 2015, or 'plans', but rather ideas of projects and hopes, and I will sure do my best to do great work that I can be proud of, so I can start living of what I can do best. I learnt a lot in 2014, and I will make sure to be in constant learning this year. I am always a bit impatient, to learn so much in a short amount of time, but I just have to take my time!

May 2015 be amazing
May 2015 be amazing

Tutorial: How to make a shiny shiny effect with Photoshop (gold foil)

As promised, I am going to share here the steps I followed to create the December poster I shared here yesterday. It is quite easy, really! Here we go: Here is my original drawing of leaves:

Ferns-&-dry-leaves
Ferns-&-dry-leaves

First, we will have to remove the white background in order to place the dark background instead. Before anything, make sure your 'background' layer is unlocked by double-clicking on it!

Screen Shot 2014-12-04 at 12.07.39

To easily remove the white background, go to Select > Color Range and click on the white, or color you want to remove. Play around with the 'fuzziness' tool. You are seeing the result at the same time in the window, but basically, the more you move the arrow to the left, the more black pixels you will leave visible. And the more you move the arrow to the right, the more black pixels it will remove. If your background is pretty clean and your blacks are quite deep, place the arrow around the middle (i placed it on 75) and you should be fine!

Screen Shot 2014-12-04 at 11.56.06
Screen Shot 2014-12-04 at 11.57.26

Then Press OK, and you see the white is now selected. Press the delete key and you will have your leaves on a transparent background!

Screen Shot 2014-12-04 at 12.10.00

The next step is to reorganize your leaves as you wish (I drew the words 'bonjour décembre directly in Photoshop with my graphic tablet, so i could directly select the color):

Screen Shot 2014-12-04 at 12.13.11

The next step is to find a nice and dark paper texture. I found a nice white paper texture here, and I am just going to tweak it a bit to make it dark. As I open the number 11 of the pack, I realize there is not enough texture for me, so i am playing a bit with the levels (CMD+L or CTRL+L) to boost the blacks:

Screen Shot 2014-12-04 at 12.24.30

Then, double-click on your layer to add a layer-style (I added a 'color overlay' layer-style with a dark grey on multiply:

Screen Shot 2014-12-04 at 12.26.02

Tadaaa, there you have a nice deep dark paper texture background. Bring your dark paper texture to your other open document with the leaves, rotate it and place it to the background.

Screen Shot 2014-12-04 at 12.36.24

Next step is to find a great gold foil texture, here is mine from myfreetextures, but there are loads more:

gold foil
gold foil

Place your gold foil texture in your open document, underneath the leaves and words:

Screen Shot 2014-12-04 at 12.39.25

Now Last but not least, select the leaves and the words by pressing CMD+click on the layer's thumbnail (add a selection by pressing SHIFT + CMD and click on the layer's thumbnail). Once you have selected everything you want, go to your shiny golden layer and press the 'add vector mask' button! Don't forget to delete or hide your words/leaves layers, since they were placed on top.

There you go!

Poster-gold-foil
Poster-gold-foil

I hope you liked it! Don't hesitate if you have any question!