12 months of patterns

DSCF5628
DSCF5628
DSCF5657
DSCF5657
DSCF5658
DSCF5658
DSCF5664
DSCF5664
DSCF5661
DSCF5661
DSCF5662
DSCF5662
DSCF5663
DSCF5663
DSCF5665
DSCF5665
DSCF5666
DSCF5666
DSCF5632
DSCF5632
DSCF5634
DSCF5634
DSCF5630
DSCF5630
DSCF5636
DSCF5636
DSCF5639
DSCF5639
DSCF5640
DSCF5640
DSCF5643
DSCF5643
DSCF5644
DSCF5644
DSCF5646
DSCF5646
DSCF5647
DSCF5647
DSCF5650
DSCF5650
DSCF5651-02
DSCF5651-02

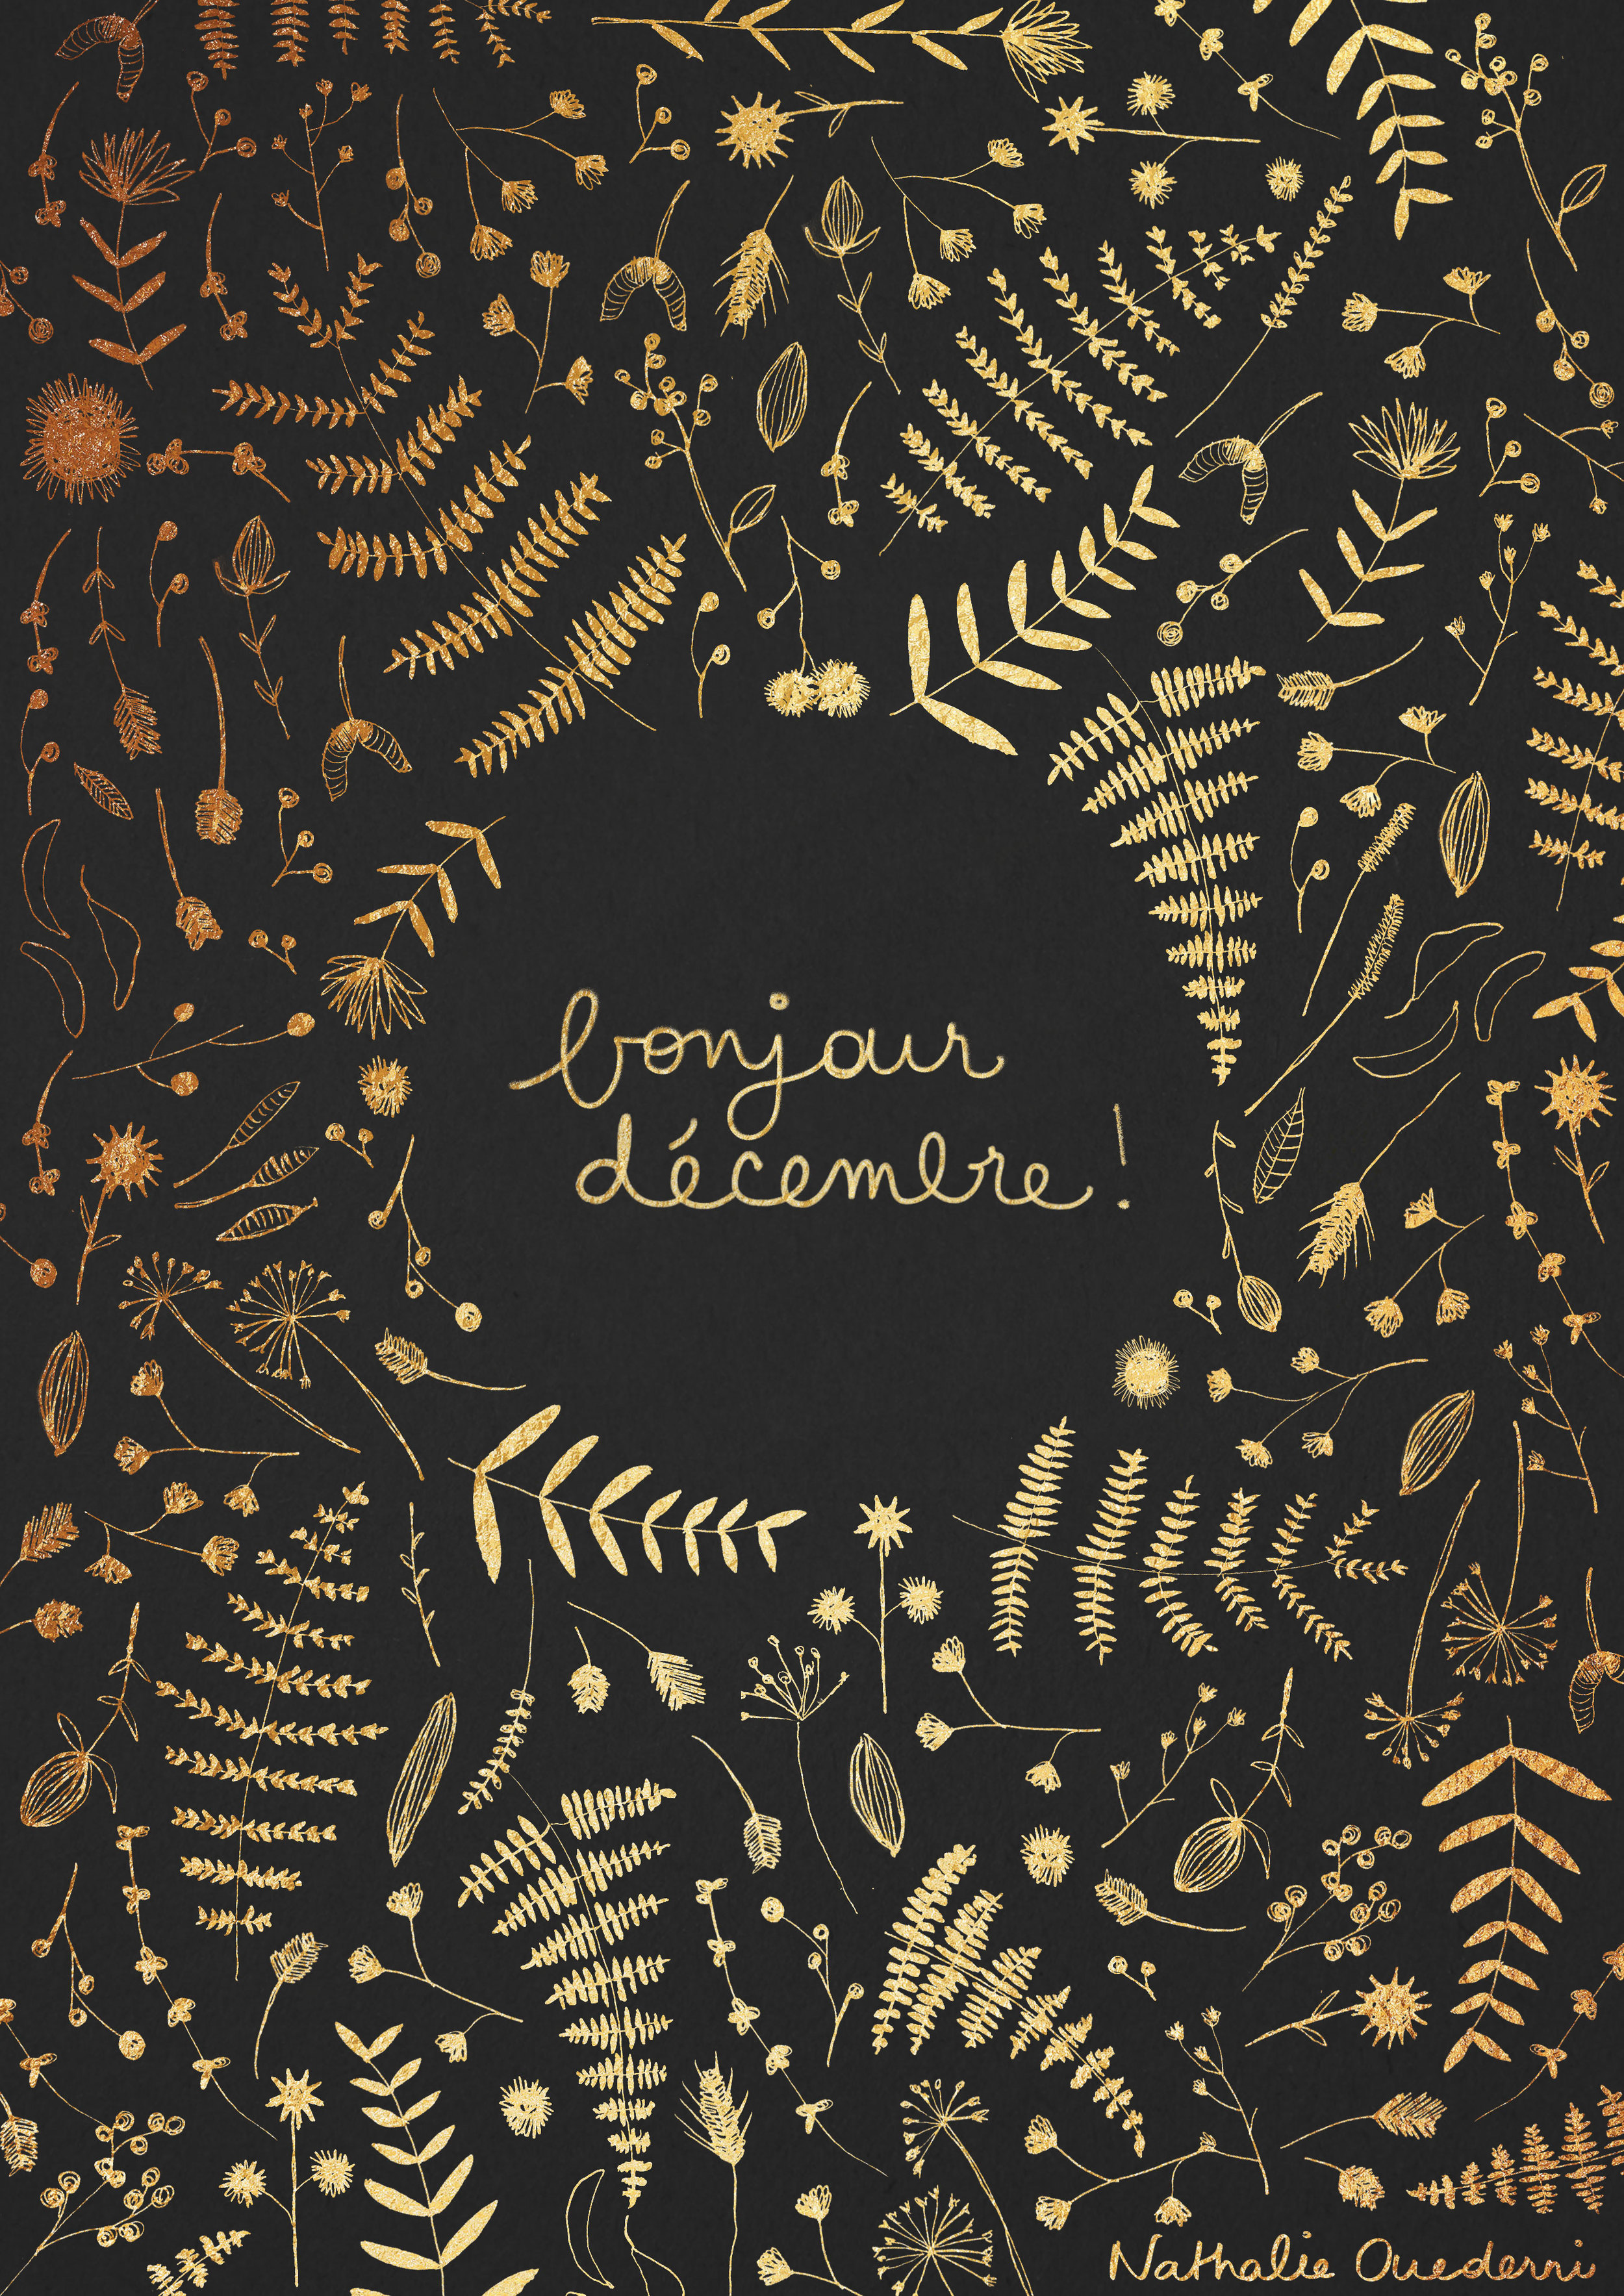
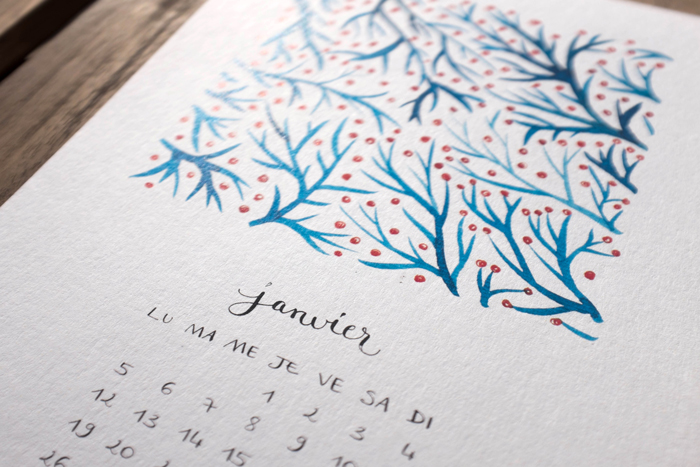
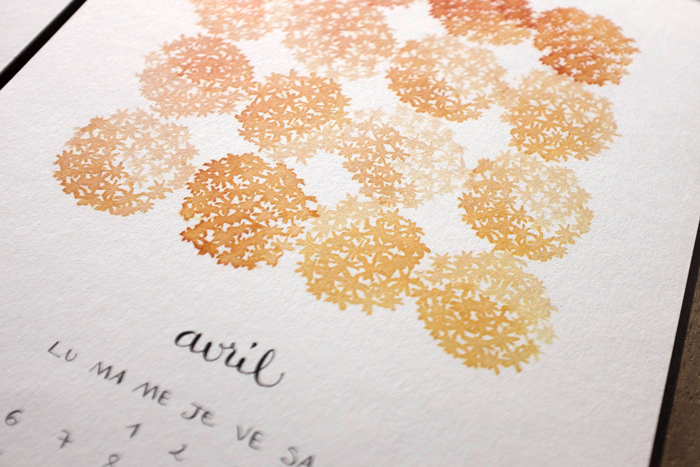
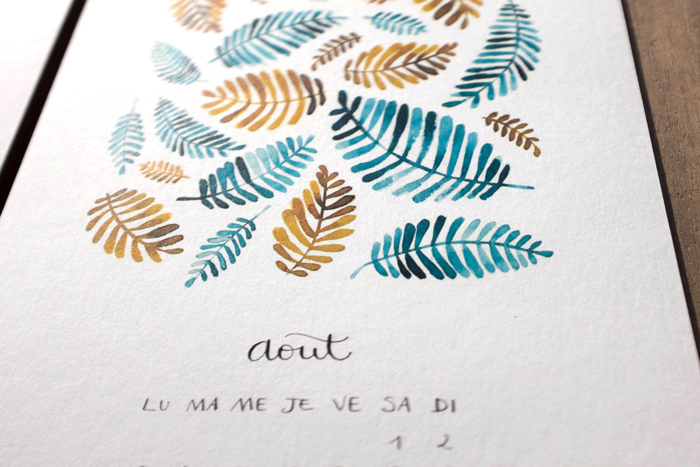
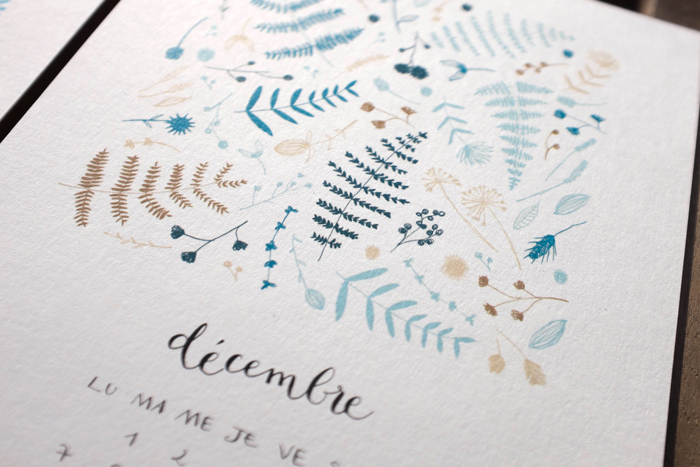
There it is, the calendar I designed in the past weekend with the patterns I made over the past few months. Originally, it was going to be only a present for my dad, but I ended up printing many more sets for my friends, as a way to wish them a Happy New Year in a special way. I enjoyed a lot the process of making this calendar, and I might work on an English version in order to sell it in my Etsy shop. I would love to know if some of you would be interested!

Small and big

Now that the rush of before the holidays have passed, I finally have some more time to put myself at my desk and draw, without feeling guilty because some revisions are waiting for a client.Later today I am going to print a calendar that I decided to make this weekend for my dad, with some patterns you might have seen here on the blog or on my website. I can't wait to see it printed! It is always a great pleasure to see the stuff you make printed instead of on a screen. But in the meantime, I wanted to show you the hand lettering I made from a quote from Carl Sagan. His words always make me feel so small, but so important at the same time. It is difficult to explain without sounding corny! In a near future, I would like to hand letter more quotes from him and make a sort of series. I feel like his words resonate very loud today, even if he pronounced them some 20 years ago. Maybe this series would expand his work and make them remembered. Enough words though for now, but I just wanted to explain a bit my thoughts and how i came to choose this quote and not another one. It is so easy now to get a bit lost in this visual culture without paying attention to what's behind. There's Instagram for that. But for my blog, I want a bit more.

woman-indigo
woman-indigo

Watercolor Handlettering for Self Magazine

Screen Shot 2014-12-15 at 18.30.09

A few weeks ago, Self Magazine contacted me to make a custom hand lettering. The January issue is going to be published on December 24th, but i wanted to share a sneak peak of one of the proposals I made. Within one week or so, I will post the final lettering as well as some more proposals I did! I can't wait to receive the issue!

Tutorial: How to make a shiny shiny effect with Photoshop (gold foil)

As promised, I am going to share here the steps I followed to create the December poster I shared here yesterday. It is quite easy, really! Here we go: Here is my original drawing of leaves:

Ferns-&-dry-leaves
Ferns-&-dry-leaves

First, we will have to remove the white background in order to place the dark background instead. Before anything, make sure your 'background' layer is unlocked by double-clicking on it!

Screen Shot 2014-12-04 at 12.07.39

To easily remove the white background, go to Select > Color Range and click on the white, or color you want to remove. Play around with the 'fuzziness' tool. You are seeing the result at the same time in the window, but basically, the more you move the arrow to the left, the more black pixels you will leave visible. And the more you move the arrow to the right, the more black pixels it will remove. If your background is pretty clean and your blacks are quite deep, place the arrow around the middle (i placed it on 75) and you should be fine!

Screen Shot 2014-12-04 at 11.56.06
Screen Shot 2014-12-04 at 11.57.26

Then Press OK, and you see the white is now selected. Press the delete key and you will have your leaves on a transparent background!

Screen Shot 2014-12-04 at 12.10.00

The next step is to reorganize your leaves as you wish (I drew the words 'bonjour décembre directly in Photoshop with my graphic tablet, so i could directly select the color):

Screen Shot 2014-12-04 at 12.13.11

The next step is to find a nice and dark paper texture. I found a nice white paper texture here, and I am just going to tweak it a bit to make it dark. As I open the number 11 of the pack, I realize there is not enough texture for me, so i am playing a bit with the levels (CMD+L or CTRL+L) to boost the blacks:

Screen Shot 2014-12-04 at 12.24.30

Then, double-click on your layer to add a layer-style (I added a 'color overlay' layer-style with a dark grey on multiply:

Screen Shot 2014-12-04 at 12.26.02

Tadaaa, there you have a nice deep dark paper texture background. Bring your dark paper texture to your other open document with the leaves, rotate it and place it to the background.

Screen Shot 2014-12-04 at 12.36.24

Next step is to find a great gold foil texture, here is mine from myfreetextures, but there are loads more:

gold foil
gold foil

Place your gold foil texture in your open document, underneath the leaves and words:

Screen Shot 2014-12-04 at 12.39.25

Now Last but not least, select the leaves and the words by pressing CMD+click on the layer's thumbnail (add a selection by pressing SHIFT + CMD and click on the layer's thumbnail). Once you have selected everything you want, go to your shiny golden layer and press the 'add vector mask' button! Don't forget to delete or hide your words/leaves layers, since they were placed on top.

There you go!

Poster-gold-foil
Poster-gold-foil

I hope you liked it! Don't hesitate if you have any question!